When you're building applications (especially websites), monitoring and debugging become absolutely crucial. These two techniques help you fine-tune your queries, fix performance bottlenecks, and quickly tackle any errors that pop up. Today, we'll explore one of Laravel's official tools - Laravel Telescope - that makes all of this a breeze.
What is Laravel Telescope?
Laravel Telescope is a debug assistant specifically designed for monitoring and debugging your Laravel applications. This powerful tool gives you deep insights into HTTP requests hitting your app, including exceptions, log entries, database queries, and much more.
Why You'll Love Using Laravel Telescope
-
Real-Time Monitoring - Watch your application's activity unfold in real-time, so you'll catch issues as they happen.
-
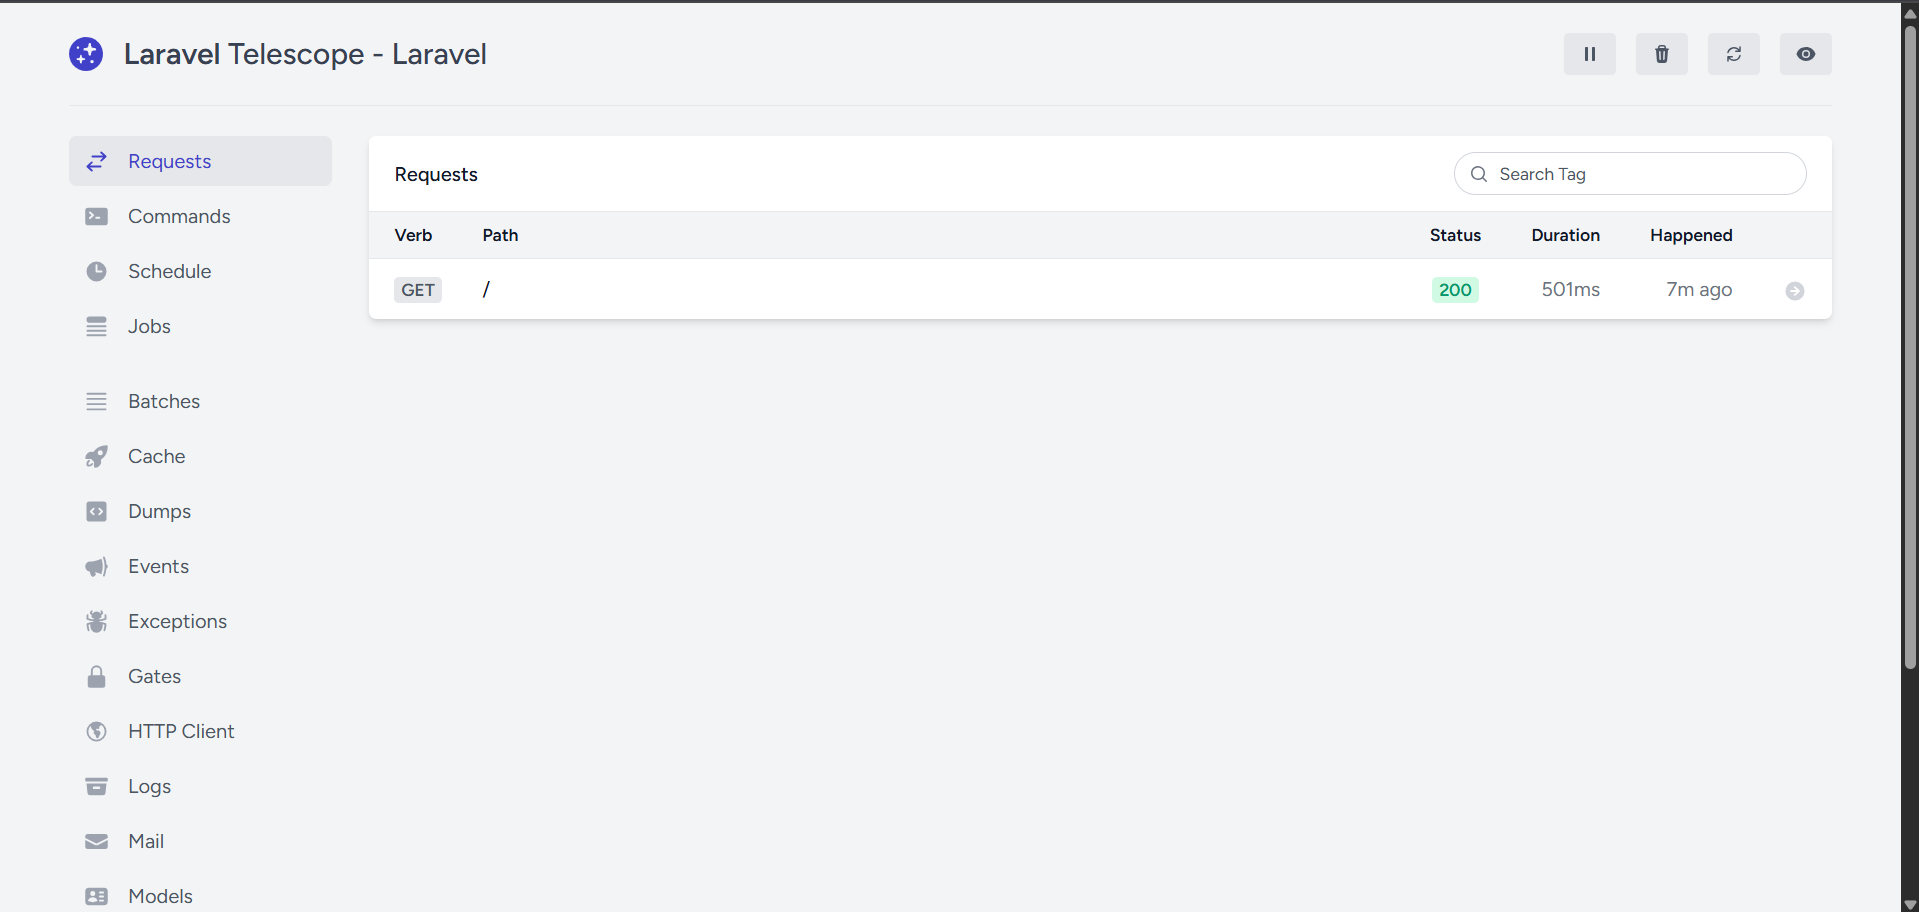
User-Friendly Interface - The dashboard is clean and intuitive, making it easy for developers of all skill levels to navigate.
-
Comprehensive Logging - Every single activity in your application gets recorded with detailed information.
-
Performance Analysis - Dive deep into query performance and response times to identify bottlenecks.
-
Easy Integration - Telescope plugs right into your existing Laravel projects without any hassle.
Core Features of Laravel Telescope
- HTTP Request Monitoring
Telescope captures every HTTP request coming into your application, giving you visibility into:
- URL and HTTP method details
- Response status codes and timing information
- Request headers and parameters
- Session data tracking
- Database Query Analysis
This feature becomes your best friend for database optimization, helping you spot:
- Slow Queries - Identify queries that are dragging down performance
- Query Count - Track how many queries each request triggers
- N+1 Problems - Catch those sneaky N+1 query issues before they cause trouble
- Query Execution Time - Measure exactly how long each query takes
- Job Monitoring
Perfect for applications using queue systems, tracking:
- Job payload information
- Job execution timing
- Retry attempt counts
- Error messages for failed jobs
- Mail Monitoring
Keep tabs on all emails sent through your application, including:
- Attachment details
- Delivery status information
- Cache Operations
Monitor cache usage and performance to optimize your caching strategy.
Getting Ready
Before installing Laravel Telescope, make sure you've got:
- PHP >= 7.2
- Laravel >= 5.7
- Database configuration (MySQL, PostgreSQL, etc.)
Installing Laravel Telescope
Open your terminal and run this command to get Telescope installed :
composer require laravel/telescope
Next, install Laravel Telescope into your application:
php artisan telescope:install
Run the database migration to create the necessary tables:
php artisan migrate
Open your .env file and add this configuration:
TELESCOPE_ENABLED=true
Now, fire up your browser and navigate to http://127.0.0.1:8000/telescope to see Telescope in action.
Custom Configuration Options
You might want to tweak some settings after installation (though this is completely optional). Open config/telescope.php if you'd like to make any adjustments.
- Storage Configuration
If you're using a database other than MySQL, you'll need this configuration:
'storage' => [
		'database' => [
				'connection' => env('DB_CONNECTION', 'pgsql'), //assuming we use PostgreeSQL
				'chunk' => 1000,
		],
],
Alternatively, add this to your .env file:
DB_CONNECTION=pgsql
- Custom Path
The default Laravel Telescope URL is /telescope, but you can change it:
'path' => env('TELESCOPE_PATH', 'monitoring'),
Now you'll access Laravel Telescope at /monitoring. You can also set this in your .env file:
TELESCOPE_PATH=monitoring
- Queue Configuration
If your application uses Redis for queuing, configure Telescope like this:
'queue' => [
    'connection' => env('TELESCOPE_QUEUE_CONNECTION', 'redis'),
    'queue' => env('TELESCOPE_QUEUE', 'default'),
    'delay' => env('TELESCOPE_QUEUE_DELAY', 10),
],
Or add these lines to your .env file:
TELESCOPE_QUEUE_CONNECTION=redis
TELESCOPE_QUEUE=default
TELESCOPE_QUEUE_DELAY=10
FAQ
- Q: Is Laravel Telescope Free?
A: Absolutely! Laravel Telescope is completely free and open-source.
- Q: Can I Use Laravel Telescope in Production?
A: While technically possible, it's not recommended due to performance impact and potential security concerns.
- Q: Is Laravel Telescope Compatible With All Laravel Versions?
A: Laravel Telescope requires at least Laravel 5.7 or higher.
- Q: How Do I Back Up Laravel Telescope Data?
A: Since Laravel Telescope stores its data in your database, it'll automatically get backed up with your regular database backups.
Wrapping Up
Laravel Telescope is an incredibly powerful tool for monitoring, debugging, and optimizing your Laravel applications. With its comprehensive feature set, Telescope helps developers quickly identify and solve problems that might otherwise take hours to track down.
Using Laravel Telescope effectively will significantly improve your application's quality, reduce production bugs, and give you valuable insights into how your application performs in real-world scenarios. It's one of those tools that, once you start using it, you'll wonder how you ever developed without it.
Thanks for following along!